AECP Level 1 Clean & Simple Boutique Cards
- carogeo2
- Apr 4, 2025
- 2 min read
Updated: Sep 28, 2025
Hi everyone!

For my final AECP Level 1 project, inspired by the Clean & Simple Boutique Cards class, I’m sharing two cards—and I’d love to know which one you like best!
Before this class, I had never heard of Boutique Cards, but Jennifer Rzasa’s tips and beautiful examples were so inspiring. One idea that really spoke to me was incorporating specialty papers and metallics. As a lifelong paper lover (or paper hoarder, let’s be honest), I’ve collected unique papers for decades. My favorites? Handmade and metallic papers—especially the stunning ones from Japan.
Card 1
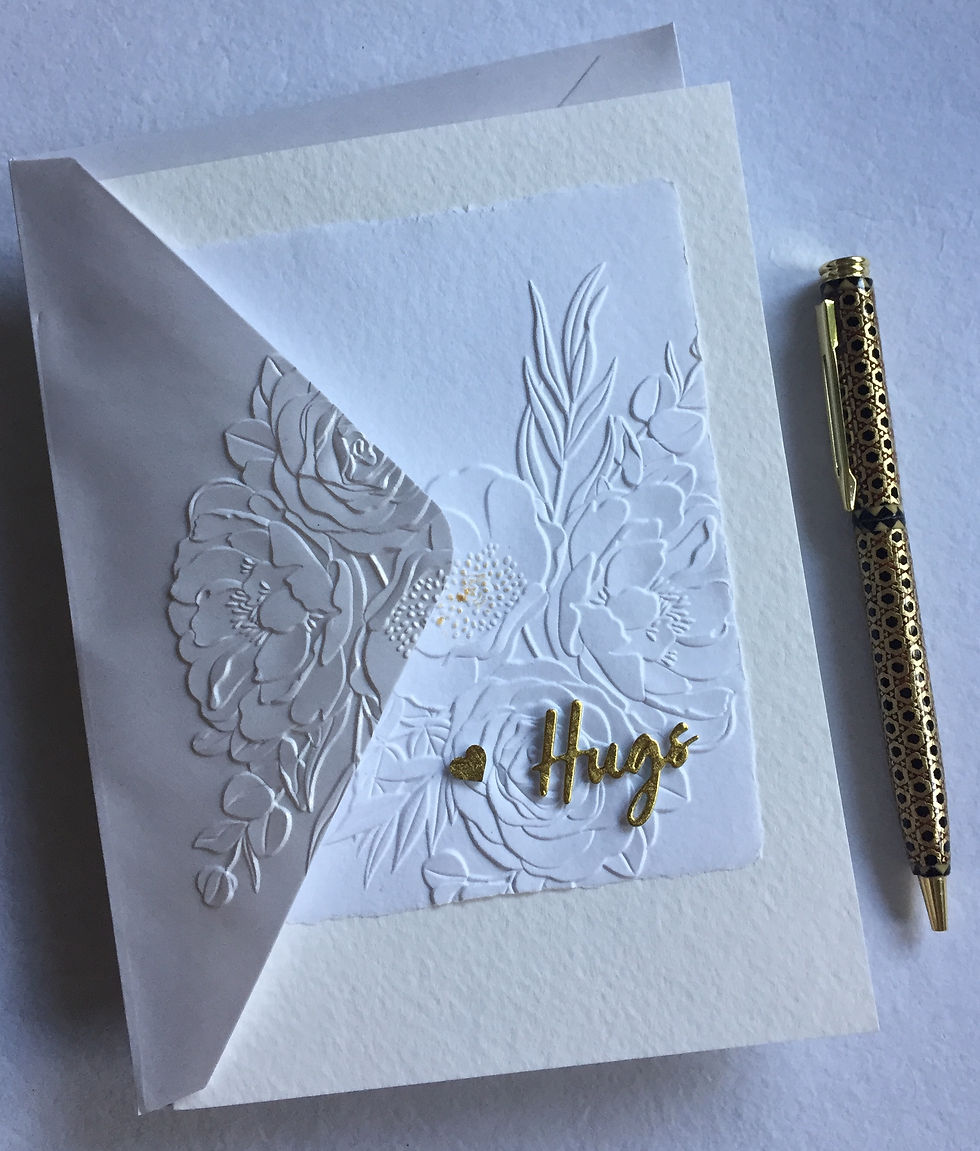
For my first card, I chose a gorgeous handmade watercolor cardstock and embossed it using the breathtaking folder from the Craft-Your-Life Kit: Eclectic Bouquet. While there are many techniques to showcase an embossed image, I think this design really shines on heavy white cardstock—it just says luxury. I added a tiny touch of Enchanted Gold Shimmer Relief Paste to one of the flower centers for a hint of sparkle.
To finish it off, I cut a small heart and a sentiment using the add-on dies from the Watercolor Roses Layering Stencil Set—once from a Japanese metallic paper and twice from white cardstock—and stacked them before placing them on the embossed bouquet. Then I mounted the panel on a heavy 5x7 off-white card base.

The class encourages coordinating envelopes, and that’s something I love to do—especially for special occasions. Usually, I make handmade envelopes using just a scoring board (I like them to look handmade, not perfect). But for a Clean & Simple Boutique Card, something a bit more refined felt right. I chose a white pearlescent envelope and partially embossed the bouquet design onto the flap. I love how it turned out—elegant and cohesive.
Card 2
My second card was a bit of an experiment with Altenew's Relief Paste! I used an older embossing folder and spread a layer of Enchanted Gold Shimmer Relief Paste over it (see picture below).
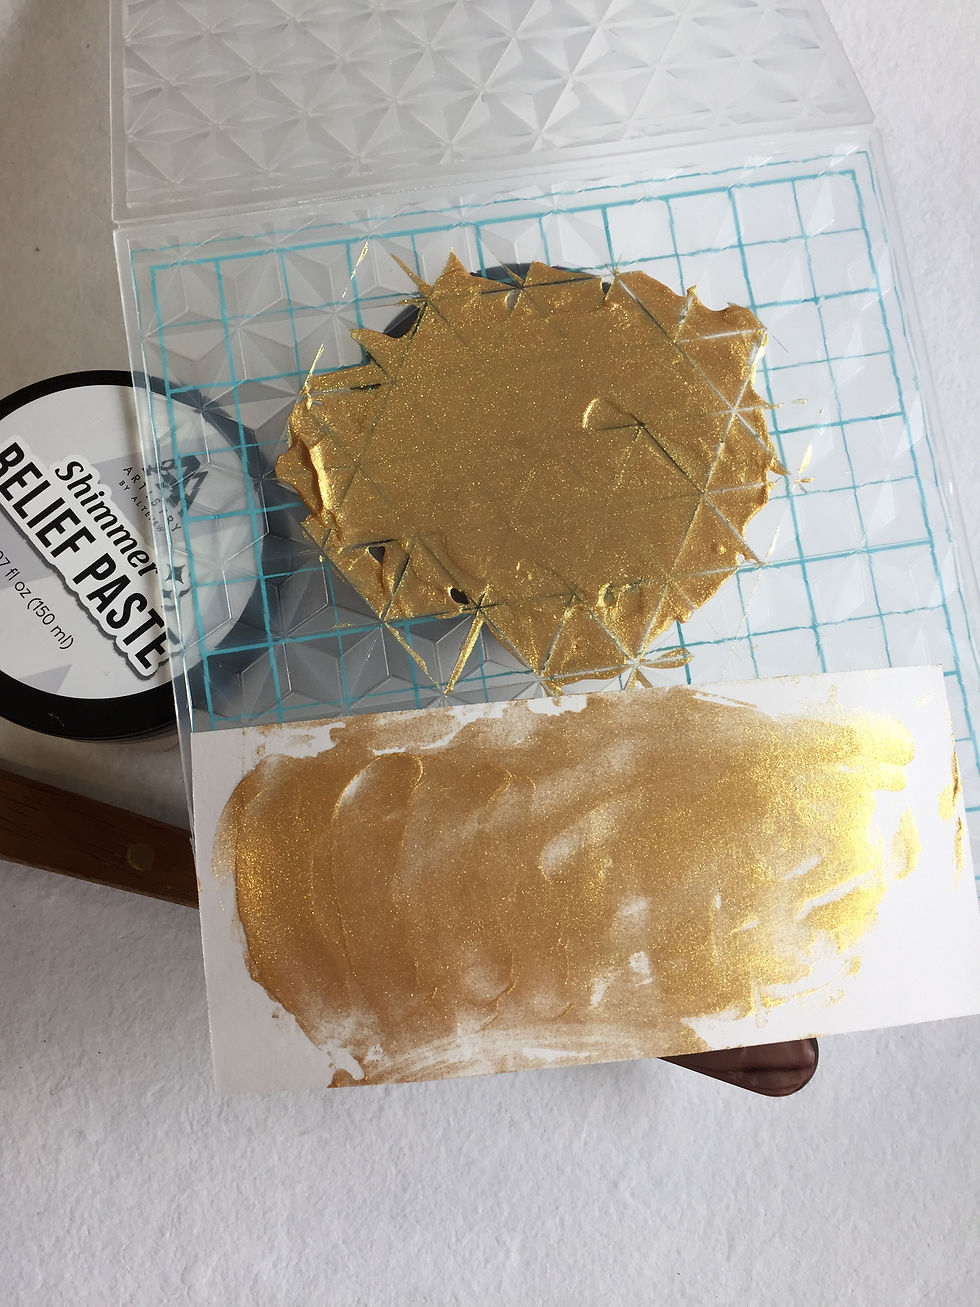
After letting it dry for 24 hours, I carefully peeled off the dried paste (in a few pieces) and cut dimensional, yet delicate triangles from them. I arranged these on an anthracite card base to form a border and glued them down. While it's not a difficult technique, it took me hours to get it just right—and a few little imperfections still remain. But honestly, I think it looks pretty cool, don’t you?
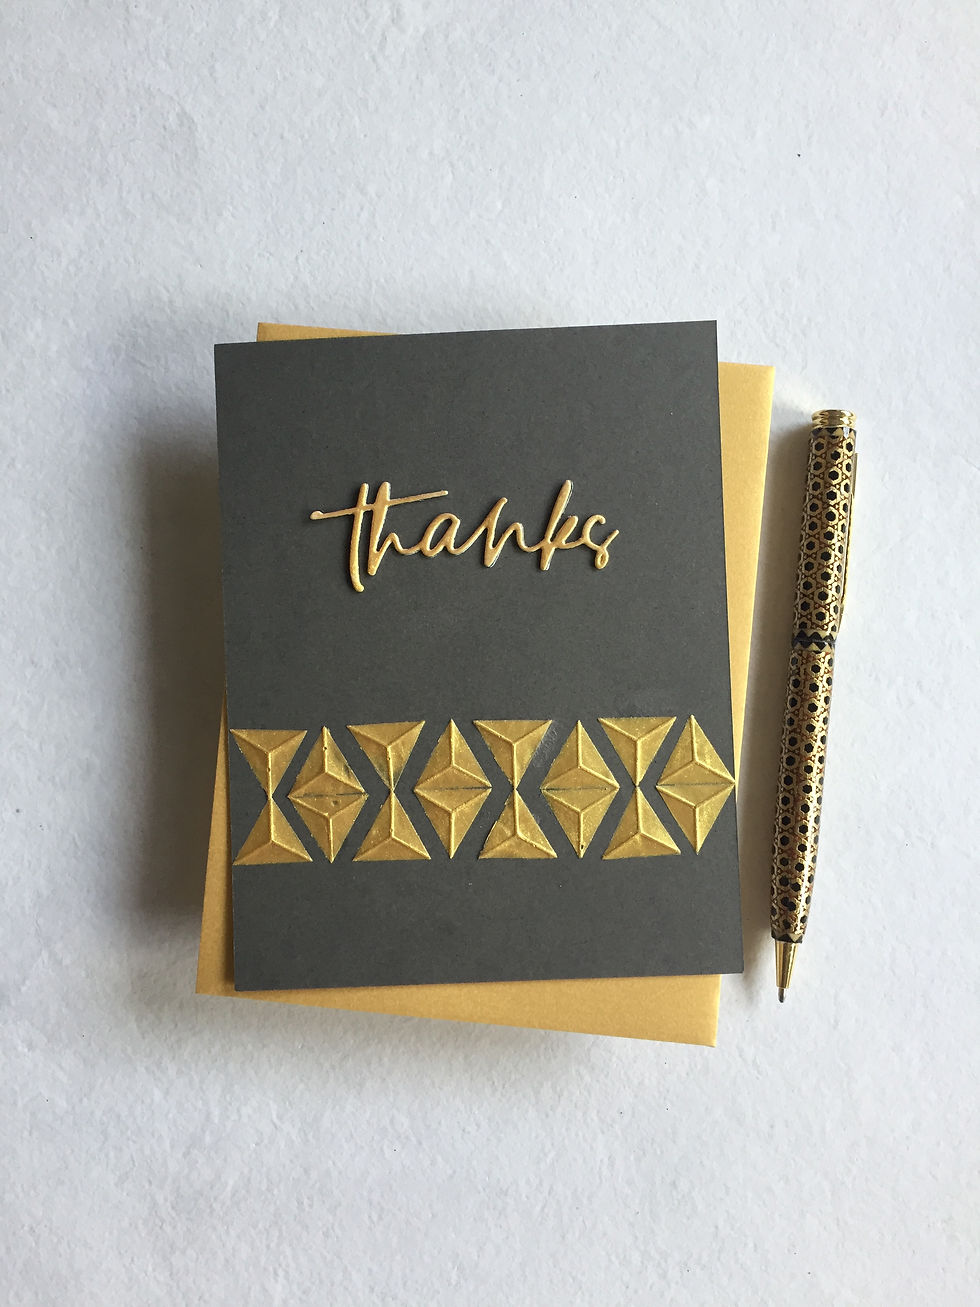
For the sentiment, I used the Sweet Sentiments Die Set to cut out “thanks” from a strip of cardstock that had been treated with the same gold paste. I stacked it, placed it above the triangle border and called the card done. I paired this one with a metallic gold envelope to tie everything together.
Now I’d love to hear from you: which card is your favorite—the elegant floral or the classic gold-and-anthracite? Let me know in the comments!
Thanks so much for stopping by—and happy crafting!

LOVE!! I think that second card is my favourite!