Put a Twist on It: 3 Clean & Simple Cards with One Die
- carogeo2
- Jun 25, 2025
- 3 min read
Hello Crafty Friends!
With A Twist is the AECP Level 2 class that inspired today’s cards—and what a fun class it is! It encourages us to find unexpected, playful ways to use our stamps, dies or stencils.

Sometimes, the twist can be as simple as rotating a die-cut shape—say, by 90 degrees. That’s exactly what I did using the Simple Shape Die, and I ended up creating three clean and simple, yet distinct cards with this approach:
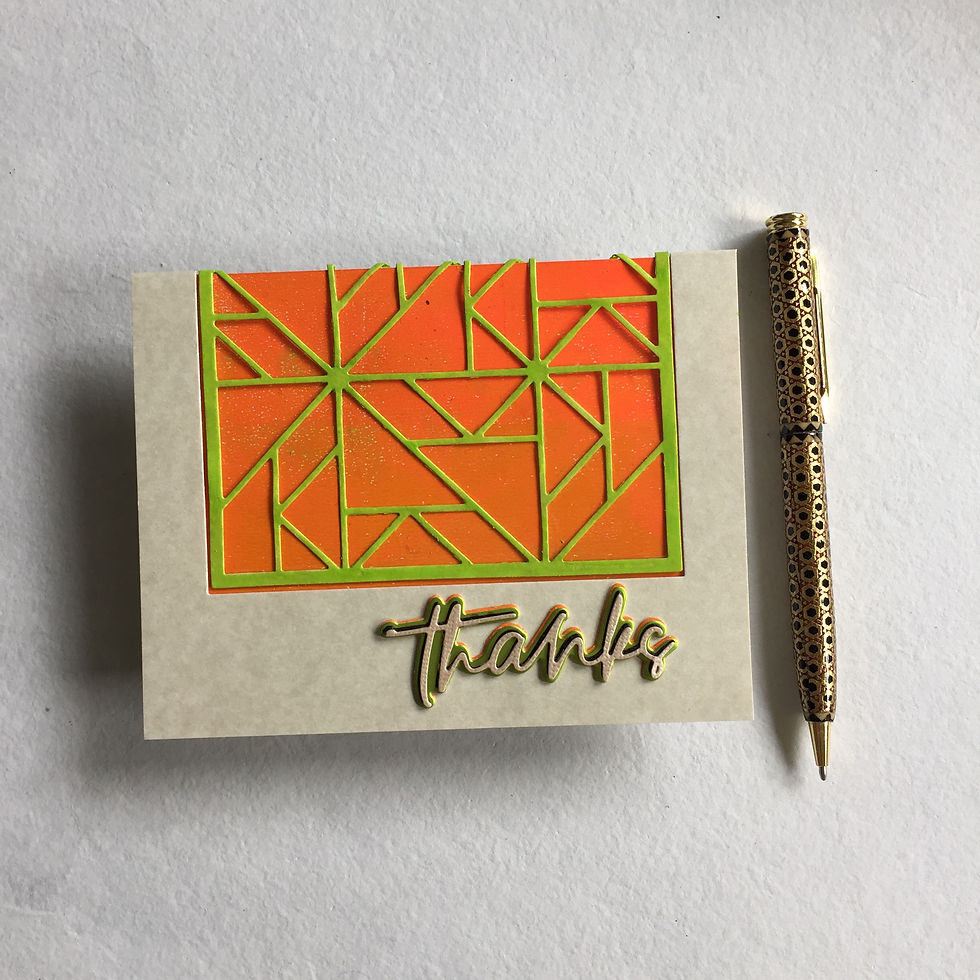
A thank-you card using vivid colors—you might even call them neon orange and neon green—plus a neutral. This is the one I’m entering in the Altenew June 2025 Inspiration Challenge.
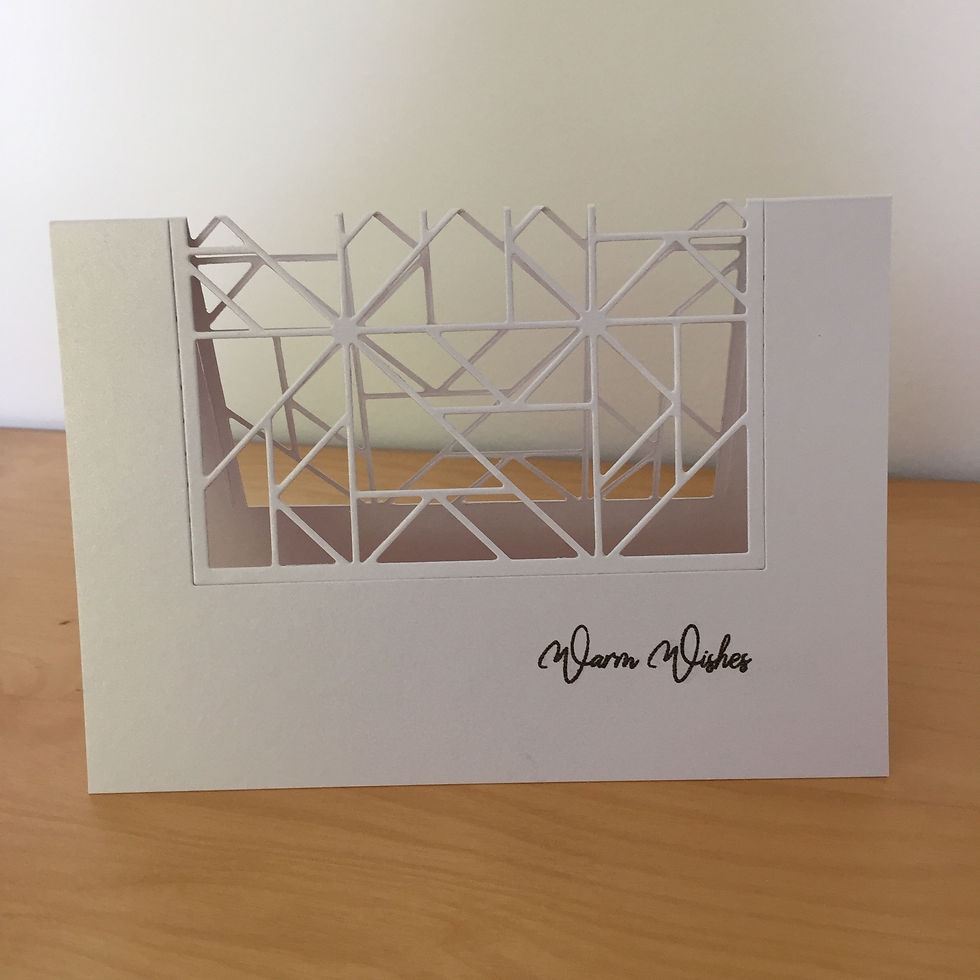
A see-through card with a partially die-cut front and back backed by acetate.
A card with an abstract watercolor inlay in a calm, nature-inspired color palette.

🛠 Materials Used
Simple Shape Die
Thanks Die from the Sweet Sentiments Die Set
Warm Wishes stamp from the Warm Wishes Mini Stamp Set
Hugs stamp from the Fresh Bouquet Mini Stamp Set
Watercolor paper and watercolors
Gel press, paper, and acrylic paint (for the neon card)
Obsidian Pigment Ink
Acetate panel (for the see-through card)
Parchment-colored card panels
Neenah Solar White 110 lb cardstock

💡 Tips & Tricks
Precision matters! A T-ruler is your best friend when you want your die cuts to be perfectly straight and centered—especially important for geometric cards.
Keep it clean. Clean and simple designs demand clean cuts. Carefully remove any paper ‘hairs’ left by die cutting. For the acetate-backed card especially, even the tiniest dust speck will show. I run my poking tool along all cut lines and gently wipe the panel with a lint-free cloth. You might need to do this more than once.

When in doubt—photograph it. If you're unsure where to place a sentiment, take photos of different placements before adhering anything down. For example, I initially considered a centered “Thanks” die cut but opted for the lower right corner after comparing pictures. Seeing it visually really helped!

🎨 A Twist You Can Make Your Own
All three cards share a clean, geometric aesthetic that I think works for any age and any gender. But this design approach is incredibly versatile. You could try:
Inlay die cutting
Dry embossing
Using the die as a stencil in this (and other) orientations
Mixing and matching colorful or patterned paper to create new patterns
Creating puzzle-style cards with stamped scenes
Using it as a background for a large sentiment, floral arrangement, nature scene, balloons, cute critters or...
Just writing out these possibilities makes me want to dive back into my craft room! And let's not forget that Altenew has numerous background dies that would work with this twist and give you more ways to use your products.

💌 Over to You
I’d love to know what you think! How do you put a creative spin on your dies? Tag me on Instagram @caracaro33—I’d love to cheer you on.
And if you’re feeling inspired, why not join the Altenew Challenge too? It’s a fantastic way to spark new ideas—and you just might win a gift card to Altenew!
Until next time—happy crafting! 🎨🧡


Gorgeous colours and love the projects!