From Intimidation to Inspiration: My Take on AECP’s Beautiful Details
- carogeo2
- Jun 16, 2025
- 3 min read
Hello Crafty Friends!
Today, I’m sharing two cards inspired by another AECP class: Beautiful Details. I’ll be honest — this was the most intimidating class of all. The instructor is such an amazing colorist that I worried I wouldn’t be able to create a card that even remotely did the class justice. But I gave it my best shot — and you can be the judge!

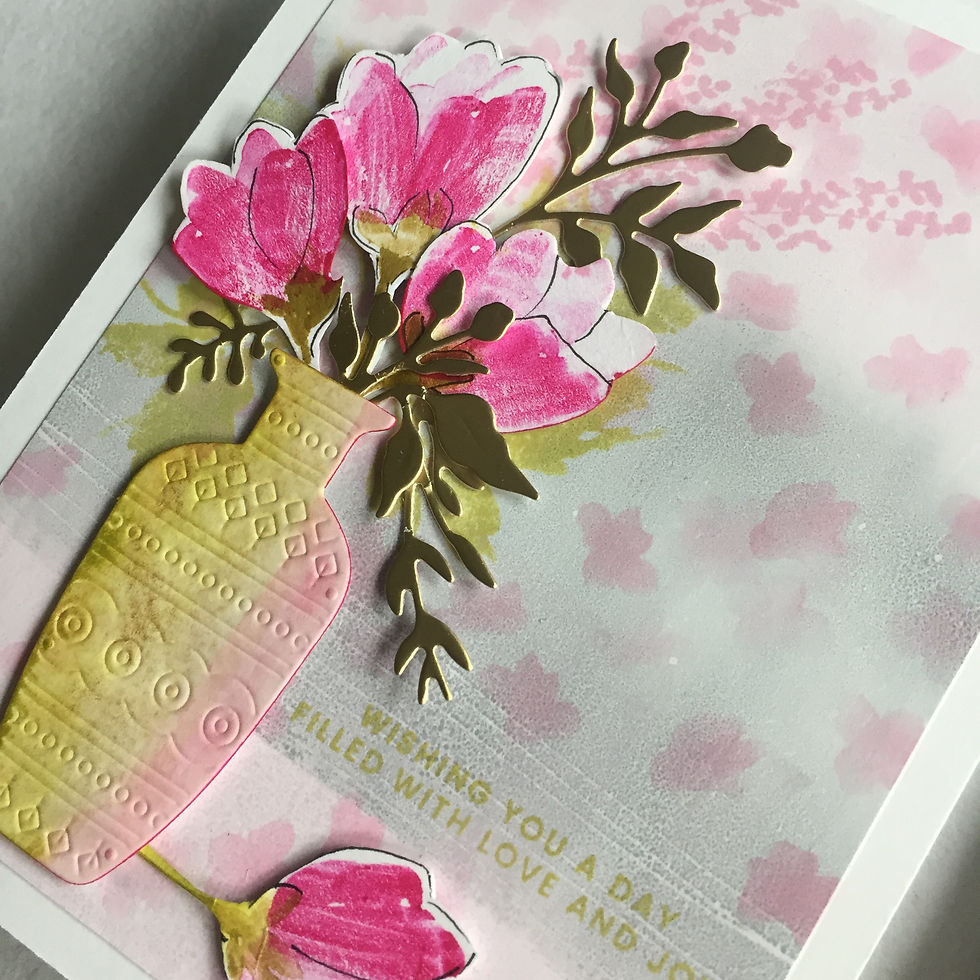
Card One: A Vase of Brushstroke Blooms
This first card was inspired by the very first lesson. I used a tiny petal stamp from the A Gift for You stamp set (gifted to me by Altenew in 2019) and repeatedly stamped it with a red dual brush marker to build up a tulip-like flower. How fun! I added stems using an olive green brush marker and a stem stamp from the same set, then added a few loose details with a black fine liner.
I repeated the process several times to create five flowers (though I ended up using four). After fussy cutting them, I prepped my background using a pink and grey gel print. I have a box filled with gel prints; once I start gel printing, I can't stop. It's too much fun. I guess, there are worse things you can be addicted to, right? Over that gel print, I softly stencilled pink petals using Pink Diamond Fresh Dye Ink and parts of a large floral layering stencil from the One-Go: Friendship Flowers set.
I planned to “plant” my flowers in a vase, so I stamped some greenery and fillers in the background of the vase’s future spot using Antique Olive and Pink Diamond Fresh Dye Ink and a mix of stamps from both the A Gift for You set and Mini Delight: Plants & Vases. I then die-cut the vase from that Mini Delight set using watercolor paper I’d pre-colored in soft pink and a light olive green. To the right of the vase’s future spot, I stamped a sentiment (also from the Mini Delight set) in Antique Olive for a cohesive look.

After arranging the flowers in the vase and popping them up with Instant Dimension Foam Tape, I mounted the panel onto a slightly larger card base for a narrow frame. I liked it — but felt it needed just one more beautiful detail. So I die-cut a few leafy sprigs from Brushed Gold Cardstock using the Zero-Waste: Wildflower Meadow die and tucked them between the flowers. And just like that, the card was complete!
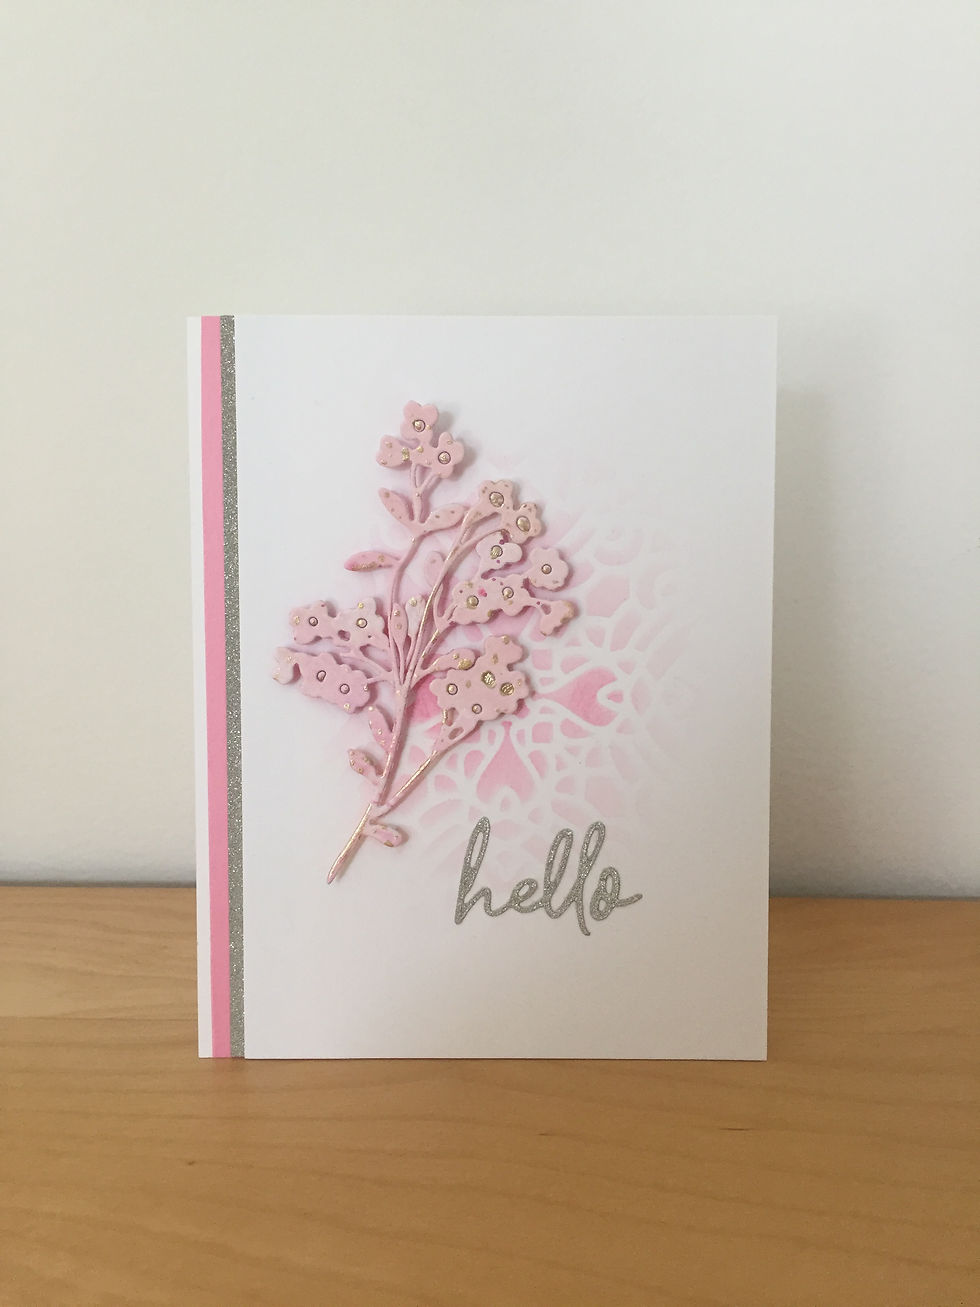
Card Two: A Magnolia Branch in Spring
For my second card, I reached for the Dotted Blooms stamp set. I stamped the magnolia branch using dual brush markers directly onto a white card panel. Then I added soft details using coloring pencils in shades of pink, magenta, brown, lime peel green, and chartreuse.

To give the background a dreamy, springtime feel, I added gentle splatters in pink and pale gold. A beautiful “happy birthday” sentiment from the same set, stamped in Obsidian Ink, finished the panel.
I trimmed the panel down to 3.25" x 4.5", matted it with a sliver of soft green for contrast, and popped it up on an A2 card base using fun foam. A clean and simple card — delicate, fresh and easy to mail.

While my cards may not rival the instructor’s breathtaking examples, I’m proud of what I made — and I definitely learned something new along the way. I’d love to hear your thoughts! Which card do you prefer? Let me know in the comments below.
Until next time — happy crafting! 🌸

So very pretty!!