AECP Level 1 Easy Ink Blending
- carogeo2
- Mar 28, 2025
- 2 min read
Updated: Sep 28, 2025
Hi Everyone!
For my 5th AECP project, I created two floral cards inspired by the lessons in the Easy Ink Blending course. I’d love to hear which one is your favorite! ✨
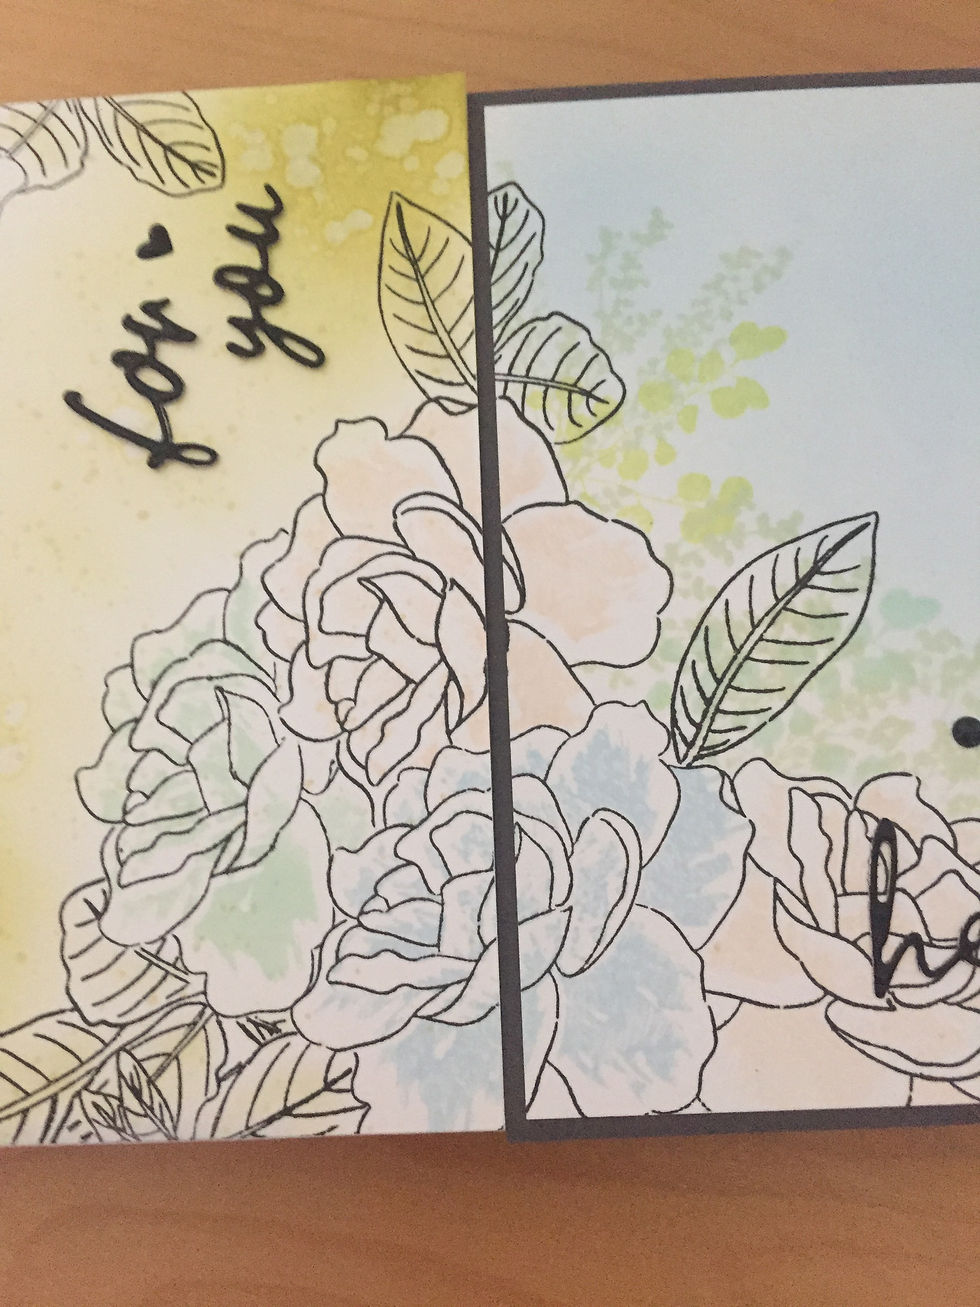
I used the Gardenia Duo Stamp Set—a gorgeous layering set that makes floral designs shine. To start, I stamped the outline of one of the flowers three times on masking paper and cut out the masks. Then, using a stamping tool, I repeatedly stamped the same flower outline on half of an A2-sized panel of Neenah Solar White 80 lb cardstock with Obsidian Black Ink, covering each bloom with a mask as I went. This technique helped me create lush Gardenia clusters. Instead of stamping all the layers, I chose just one layer for each flower and stamped them in soft pastel shades from the Frozen Delights Crisp Dye Ink Set. With the masks still in place, I stamped a few leaves around the flowers but left them black and white for a bold, graphic contrast.
Once my panel was complete, I cut it in half—one card in portrait and the other in landscape orientation.
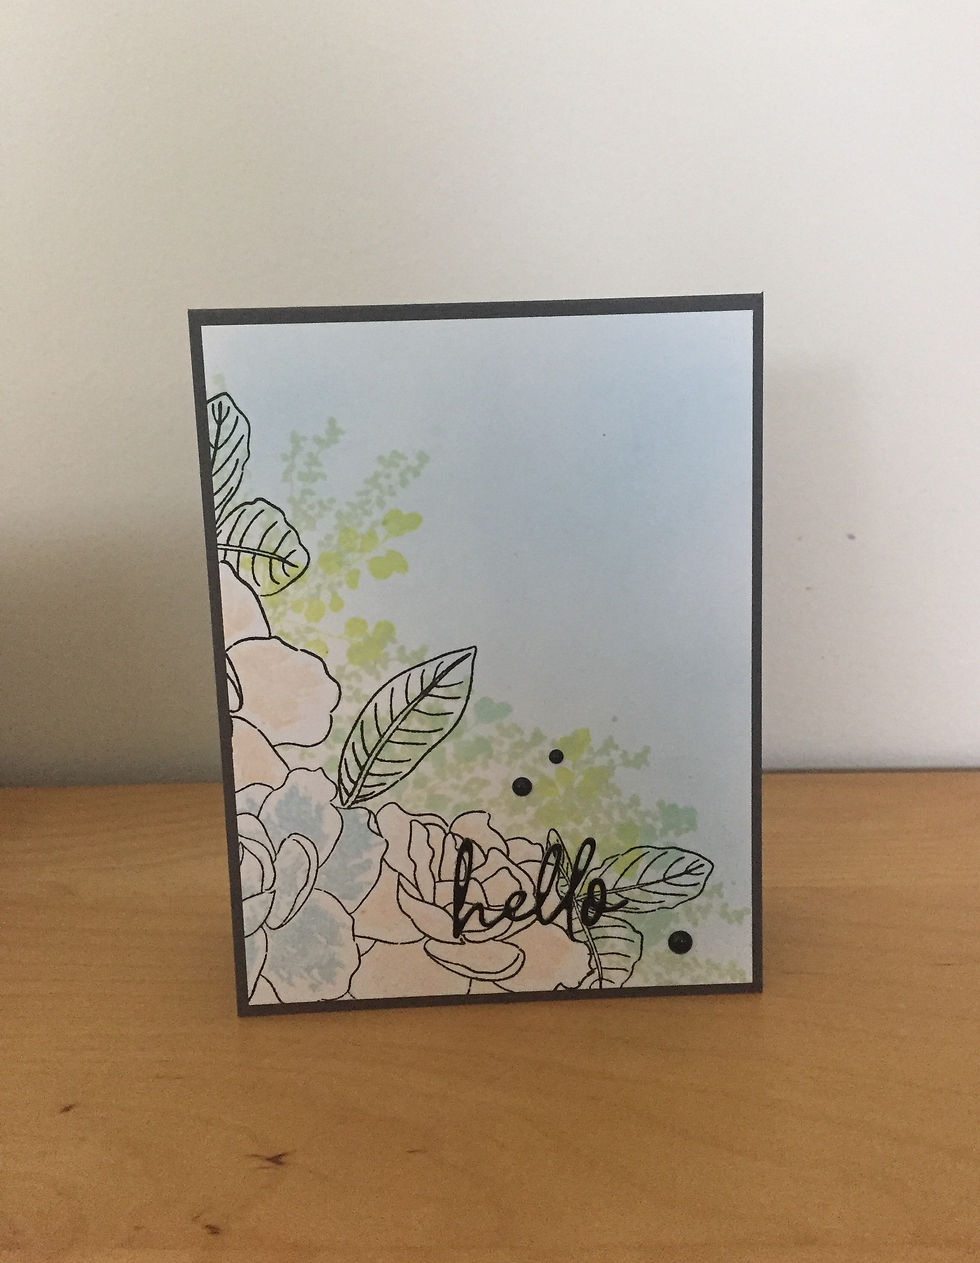
Card 1 (Portrait Style)
For this card, I added extra greenery using stamps from the Plants & Vases Silhouette Stamp Set, in yellow, green and mint inks from the Frozen Delights Set. To create a soft, dreamy effect, I ink-blended a light blue background with Sea Glass Crisp Dye Ink, keeping the blend slightly uneven to mimic a hazy sky.
I finished the card with a “hello” sentiment die-cut from glossy black cardstock using the Sweet Sentiments Die Set and added three enamel dots as a finishing touch.
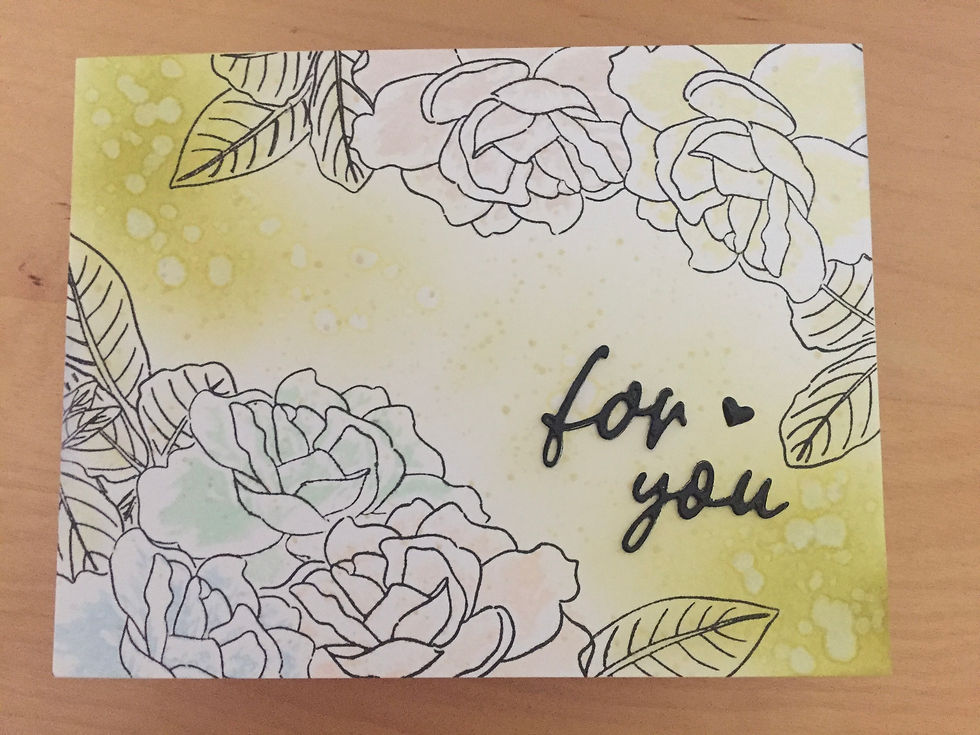
Card 2 (Landscape Style)
For this version, I took a different approach to ink blending. I blended Olive Fresh Dye Ink across the background, fading it in and out towards the center. To enhance the texture, I splattered the blend with water droplets and tiny golden watercolor specks. I blended the same ink over parts of each leaf, seamlessly integrating them into the background for a more cohesive look.
The sentiment, “for you,” also from the Sweet Sentiments Die Set, was die-cut and stacked from glossy black cardstock. A small enamel heart completes the card.
Now, I’d love to hear from you—which of these two cards is your favorite? Drop a comment below!
Thank you so much for stopping by, and happy crafting!


Comments